Getting rid of (not) provided

By combining the power of the Google Analytics API & Google Search Console API you can now track between 40 and 60% of your keywords (which might not seem a lot, but is a huge improvement compared to the almost 0% you get in Analytics).
The data is collected by a small program written in Python. You can download it here
Before you can execute it you will first need to:
- Install Python
- Enable the Google Webmaster API & install the Google Client Library
- Enable the Google Analytics API & install the Google Client Library
- Add your API keys to the script
For those who are not really technical - don't be scared: if you have already installed a program before, you should be able to pull this off!
1. Install Python
This part is different for Windows or Mac. I don't cover installing python on Linux - I imagine if you are using Linux you are tech savy and should be able to pull this off by yourself
1.1 Installing Python on Windows
First you need to download the latest version of Python 2.7.x for Windows. This is a .msi file (a normal Windows Installer file). To install Python you just need to execute the file and it will install like any other Windows programm (you might need Administrator rights on your PC to do this). Once Python is installed, you need to add it to the Path. By default Python 2.7.x will be installed in a folder called C:\Python27. The following directories should then be added to the Path:
C:\Python27;C:\Python27\scripts
If you don't know how to add a folder to the path - here you can find how to do it
1.2 Installing Python on Mac
Well, the good thing when you're using Mac - Python comes pre-installed, so there is actually no need to install anything. If you would consider to do some serious development in Python you can find a guide here, but to run this program no separate installation is needed
2.Enable the Google Webmaster API
The official guide can be found here (no need to say that you will need at least one site verified in Google Search console).
Step by step:
- Create a project in the Developers Console. If it's your first project, you will see a screen like this

Accept the Terms of Service and then click "Agree and continue". A default "My Project" will be created". You will get a notification that the API is enabled for your project.
Click on Go to Credentials and you get this page.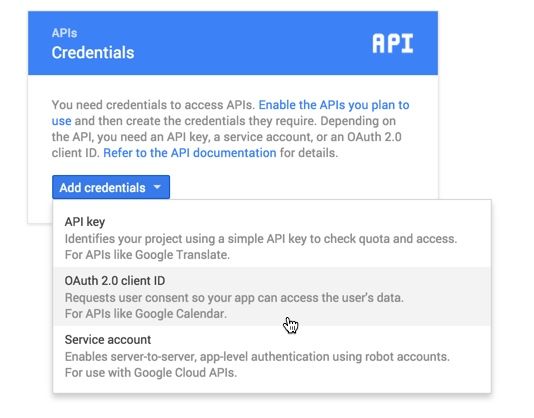
Click on "Add Credentials" and choose "OAuth 2.0 Client ID". Before you can create the credentials you first need to "Configure consent screen".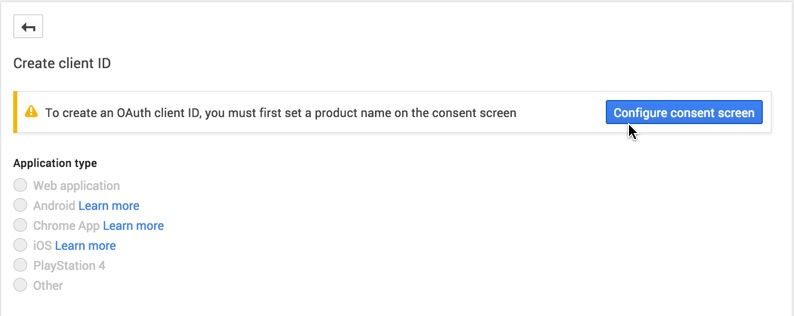
On the Consent Screen, you have to enter a Product Name of your choice (I took "NotProvided Script" but you are free to choose whatever you want). Then click on the Save button to go back to the Credential page.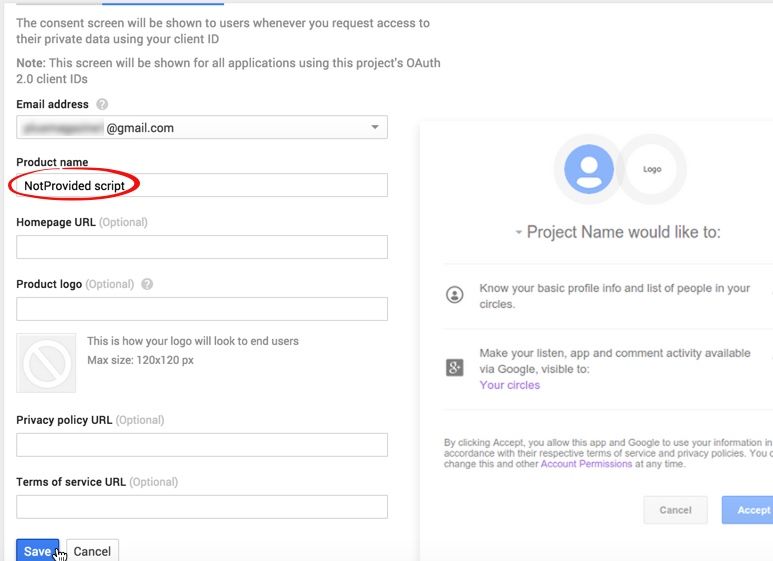
You are almost done. Choose "Other" on the "Create Client ID page" en choose a name (again - you can choose whatever you want). Click "Create"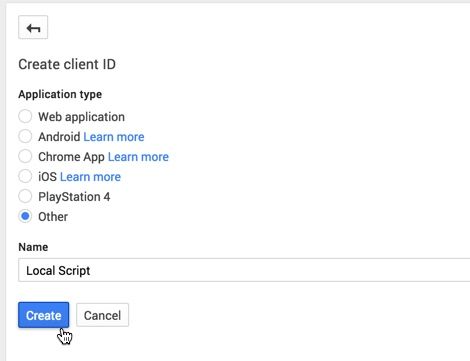
Your Client ID and client secret will now be shown on screen. You can copy them now as you will need to enter them later on. Then click "OK".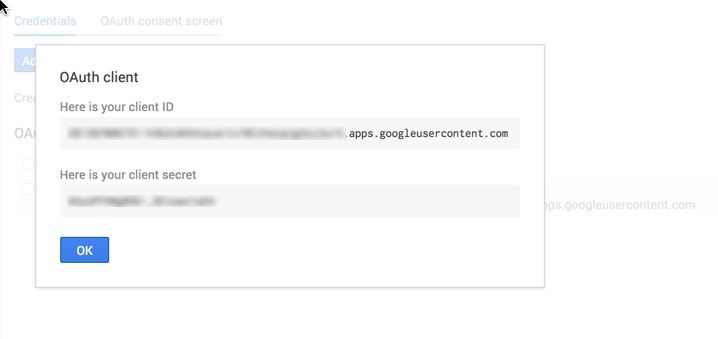
You do need to download the .json file (the Client ID and secret are stored in the client_secret_xxxxxx.apps.googleusercontent.com.json file) because you will need it later on to run the script. The download button is on the right hand side (see red circle on the image)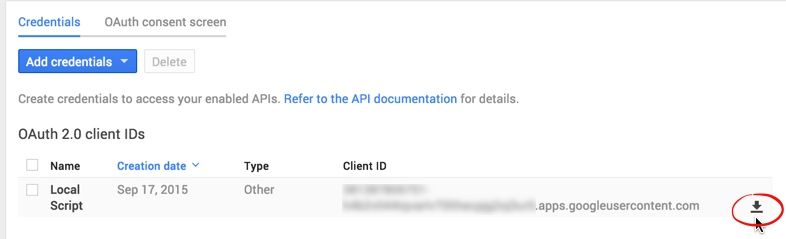
- Install the Google Client library. Open a Command window (Windows) or Terminal window (Mac) and typeYou might need to add "sudo" (Mac OS X) before the command to execute it as Superuser.
pip install --upgrade google-api-python-client
This will install the Google API client for Python.sudo pip install --upgrade google-api-python-client
In some cases you can get an error "No crypto library available" when trying to run the script. To avoid this it is best to install an additional module: PyOpenSSL. Install is done with one easy command (for Mac it might be necessary to add sudo before the command)
pip install PyOpenSSL
- Validate: download this testfile (or copy it from this page). Open the file and replace 'YOUR_CLIENT_ID' and 'YOUR_CLIENT_SECRET' with your Client ID and your Secret (you have to keep the quotationmarks - the ID & secret go inside). Save the file (keep the same name). Open your Command / Terminal Window - go to the folder where you downloaded the file (Windows: something like: cd "C:\users\your name\downloads" - on Mac OS X something like: cd Downloads) and typeRunning this script will generate a url (see example below). Copy the link & paste it in your browser
python webmasters-quickstart.py

In your browser you should get a screen like this: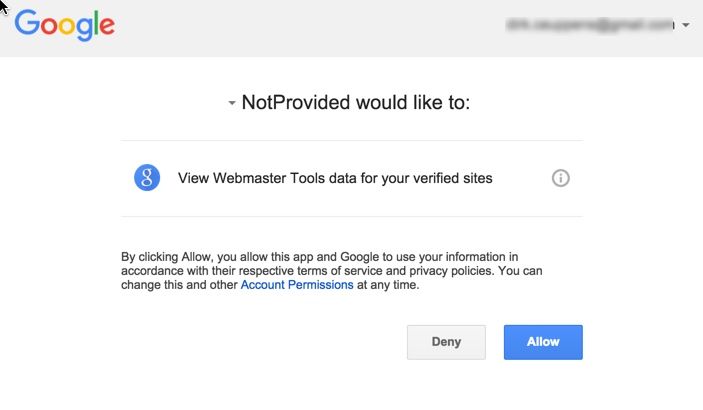
Clicking "Allow" will generate the code on screen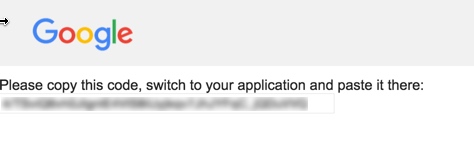
Go back to the terminal screen & paste the code - click enter. You will now see all the sites in your webmaster account listed on screen. More important - the client has now been validated. If you want, you can delete the file webmaster-quickstart.py - you don't need it anymore.
3.Enable the Google Analytics API
Hold-on - you're almost done. The official manual can be found here. Below you can find a step-by-step to guide you through the process.
- Register the application for the Analytics Api. Go to Google Developers Console and select the project you created in step 2.

Click on "Continue"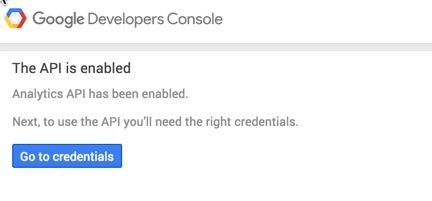
Click on "Go to Credentials". You get the same screen as before - Click on "Add credentials" but this time select "Service Account"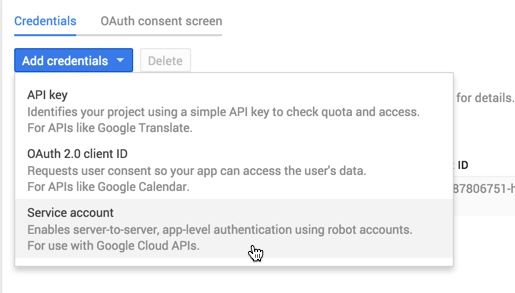
Select P12 key and click "Create"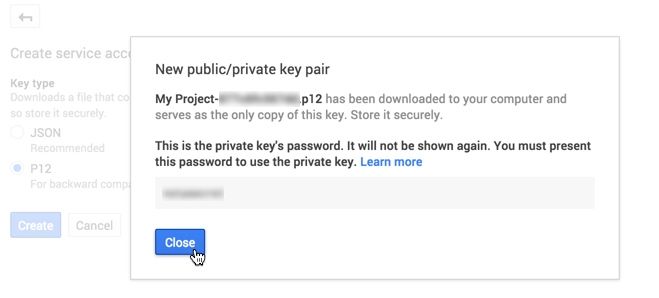
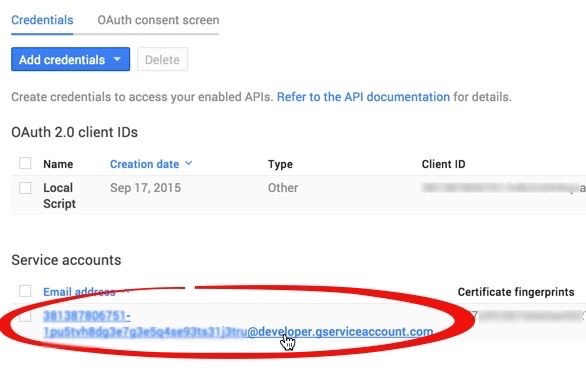
Click "Close". A file of type client_secrets.p12 (the name will normally be: <<projectname>>+<<id>>.p12) will be downloaded on your computer. - You will notice that this new service account has an email address in the format <projectId>-<uniqueId>@developer.gserviceaccount.com. You will have add this email address as user with Read & Analyze access to your Analytics Account. Do this for all the accounts you intend to use (you do need Admin access to the Analytics account(s) to do this).
Put the API keys in the script
If you haven't downloaded the script - download it now.
Create a new folder (or select an existing one) where the reports should be saved and move the script to this folder.
Copy the clients_secrets.p12 you downloaded in the previous step to this folder
Copy the client_secret_xxxxxx.apps.googleusercontent.com.json you downloaded in step one to this folder and change the name to client_secrets.json
Open the script with your favorite editor (I can strongly recommend Sublime) but any text editor will do.
Search for the term "service_account_email" - you will find a block of code like below:# Use the developer console and replace the values with your
# service account email and relative location of your key file.
service_account_email = '[[Insert your service account email here]]'
key_file_location = '[[Insert /path/to/client_secrets.p12]]'
Replace the [[Insert your service account email here]] with the email address from the Analytics API
Replace [[Insert /path/to/client_secrets.p12]] with the the path to your client_secrets.p12 file. If you copied it to the same folder this would look like this:key_file_location= './client_secrets.p12'.
Congratulations - you made it!. Now the only thing you should do is run the script & and relax.
Running the script
Open your Terminal / Command Window and change the directory to the reporting directory you just created.Then type this command:
python notprovided.py 'http://www.mysite.com' '2015-07-01' '2015-08-31' 'xxxxxxxx'
with:
- http://www.mysite.com = url of the site you want to check
- 2015-07-01 - start date in YYYY-MM-DD format (please note that the earliest start date is today-92 days)
- 2015-08-31 - end date in YYYY-MM-DD (as you might guess - the end date should be after the start date). Also take into to the account that the Search console doesn't provide data for today-2 days
- XXXXXXXXXX stands for the ID of Analytics View you want to use to collect the data (which of course would need to be linked to the site you want to check). You can find it under the Admin tab of Analytics. Select the Account – Property – View and then ‘View Settings’. The ID is shown under "View ID"
- Important note: If you get an error message regarding the date format try replacing the single quotes with double quotes
Depending on the amount of data - it can take some time before the script is terminated. For a site with 6.000 landing pages and 140.000 keywords it took about 5 hours to complete.